Letztes Update am 30. Dezember 2023 von christian
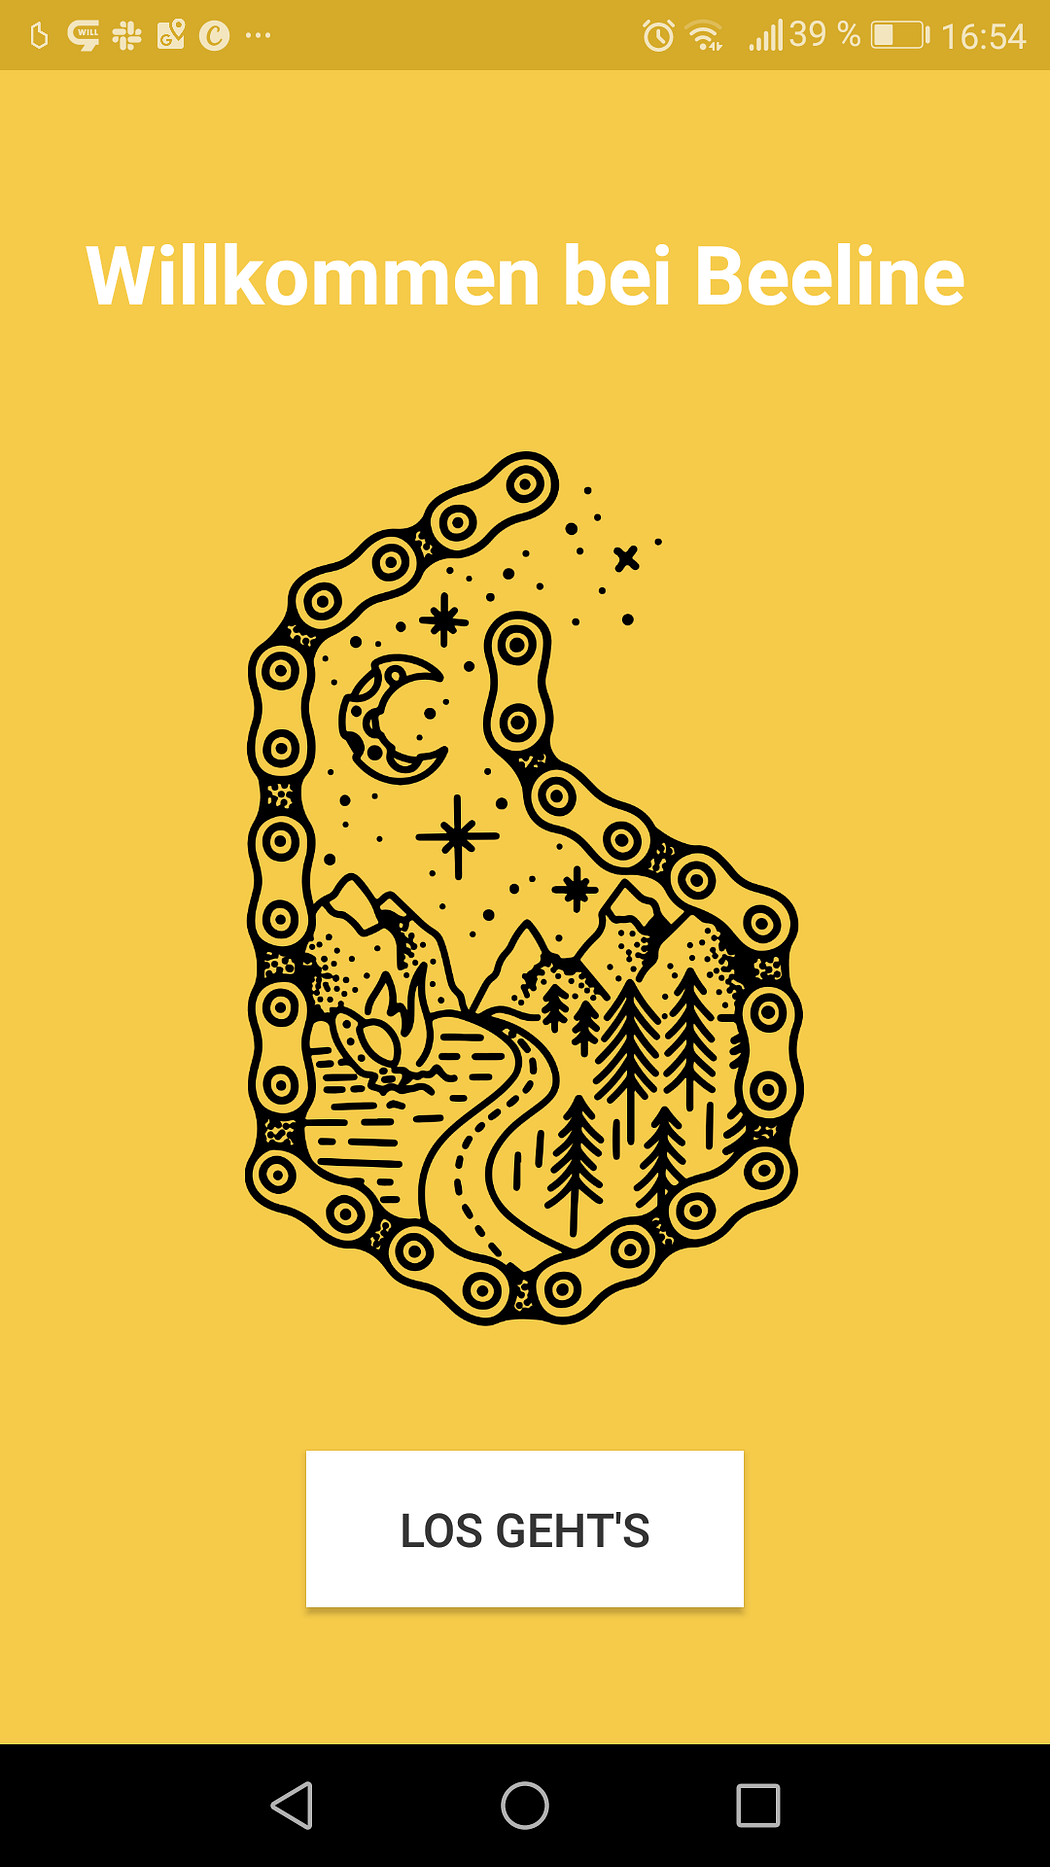
What I Believe to be the Simplest Motorcycle SatNav — Unpacking, Setup and First Ride
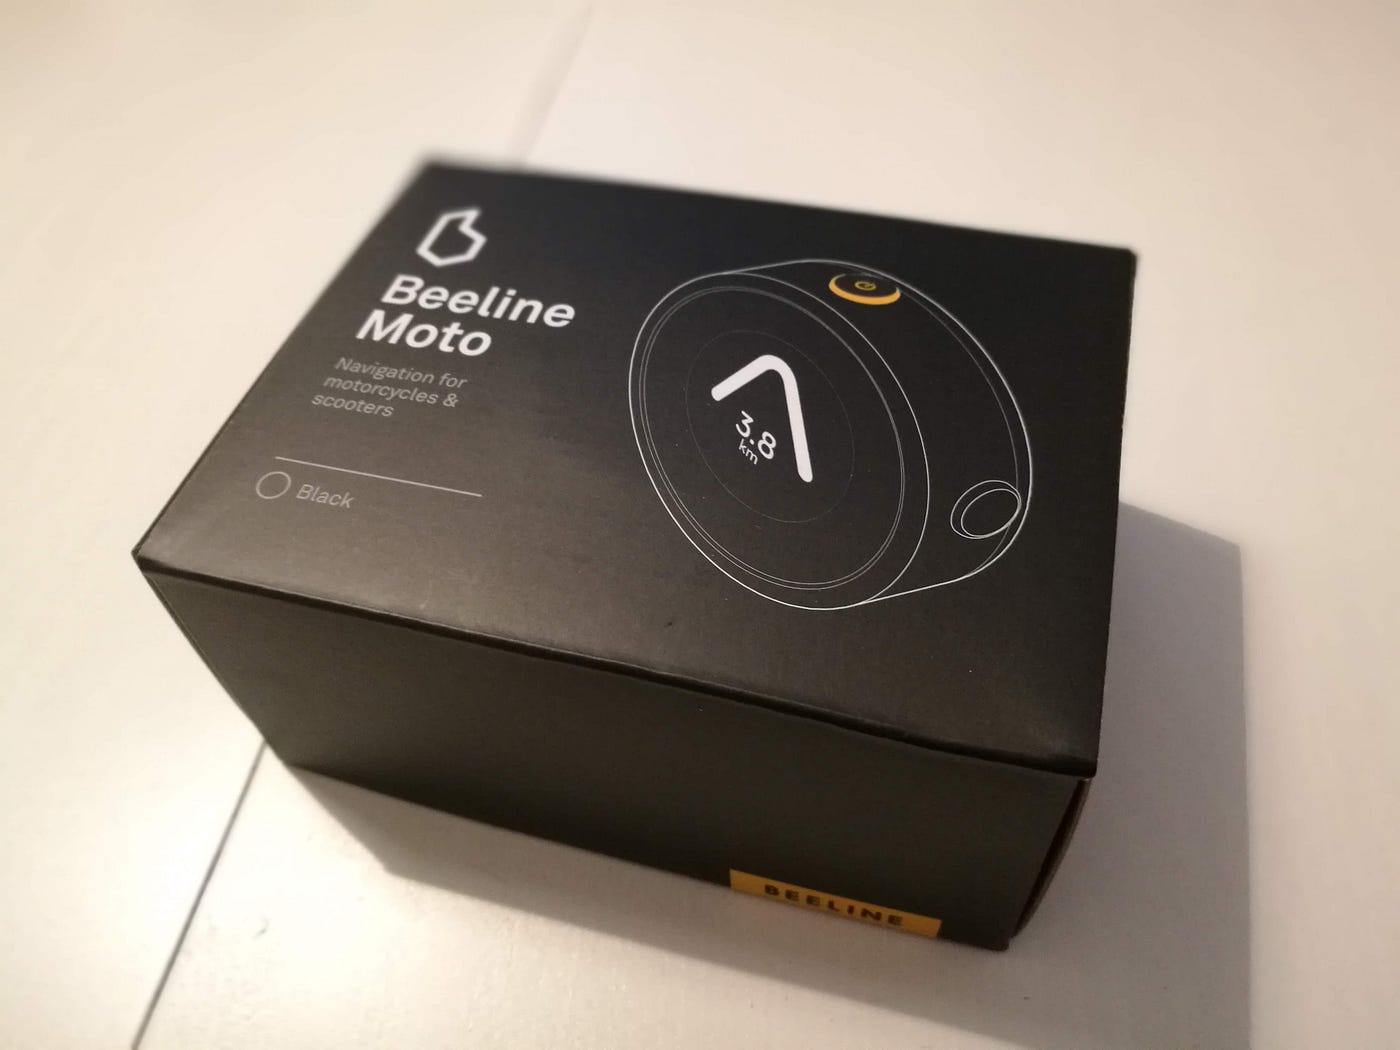
Purchasing Experience: Kickstarter
I have to admit: I’m a huge fan of make things simple. I fell in love with the simple design and simply had to give it a try! I pre-ordered mine this summer via Kickstarter. And finally, start of November it arrived. A long time… but thankfully, the weather still holds in November around Vienna. So, let’s dive into it.
What’s in the Box
Actually, a lot more than I expected:
- Beeline Moto SatNav
- Universal Elastic Strap Mount
- Sticky Pad Mount
- Charger with standard USB connector
- A short manual
- An Allen Wrench for the sticky pad mount
- A Sticker
- A “Thank you” from the team
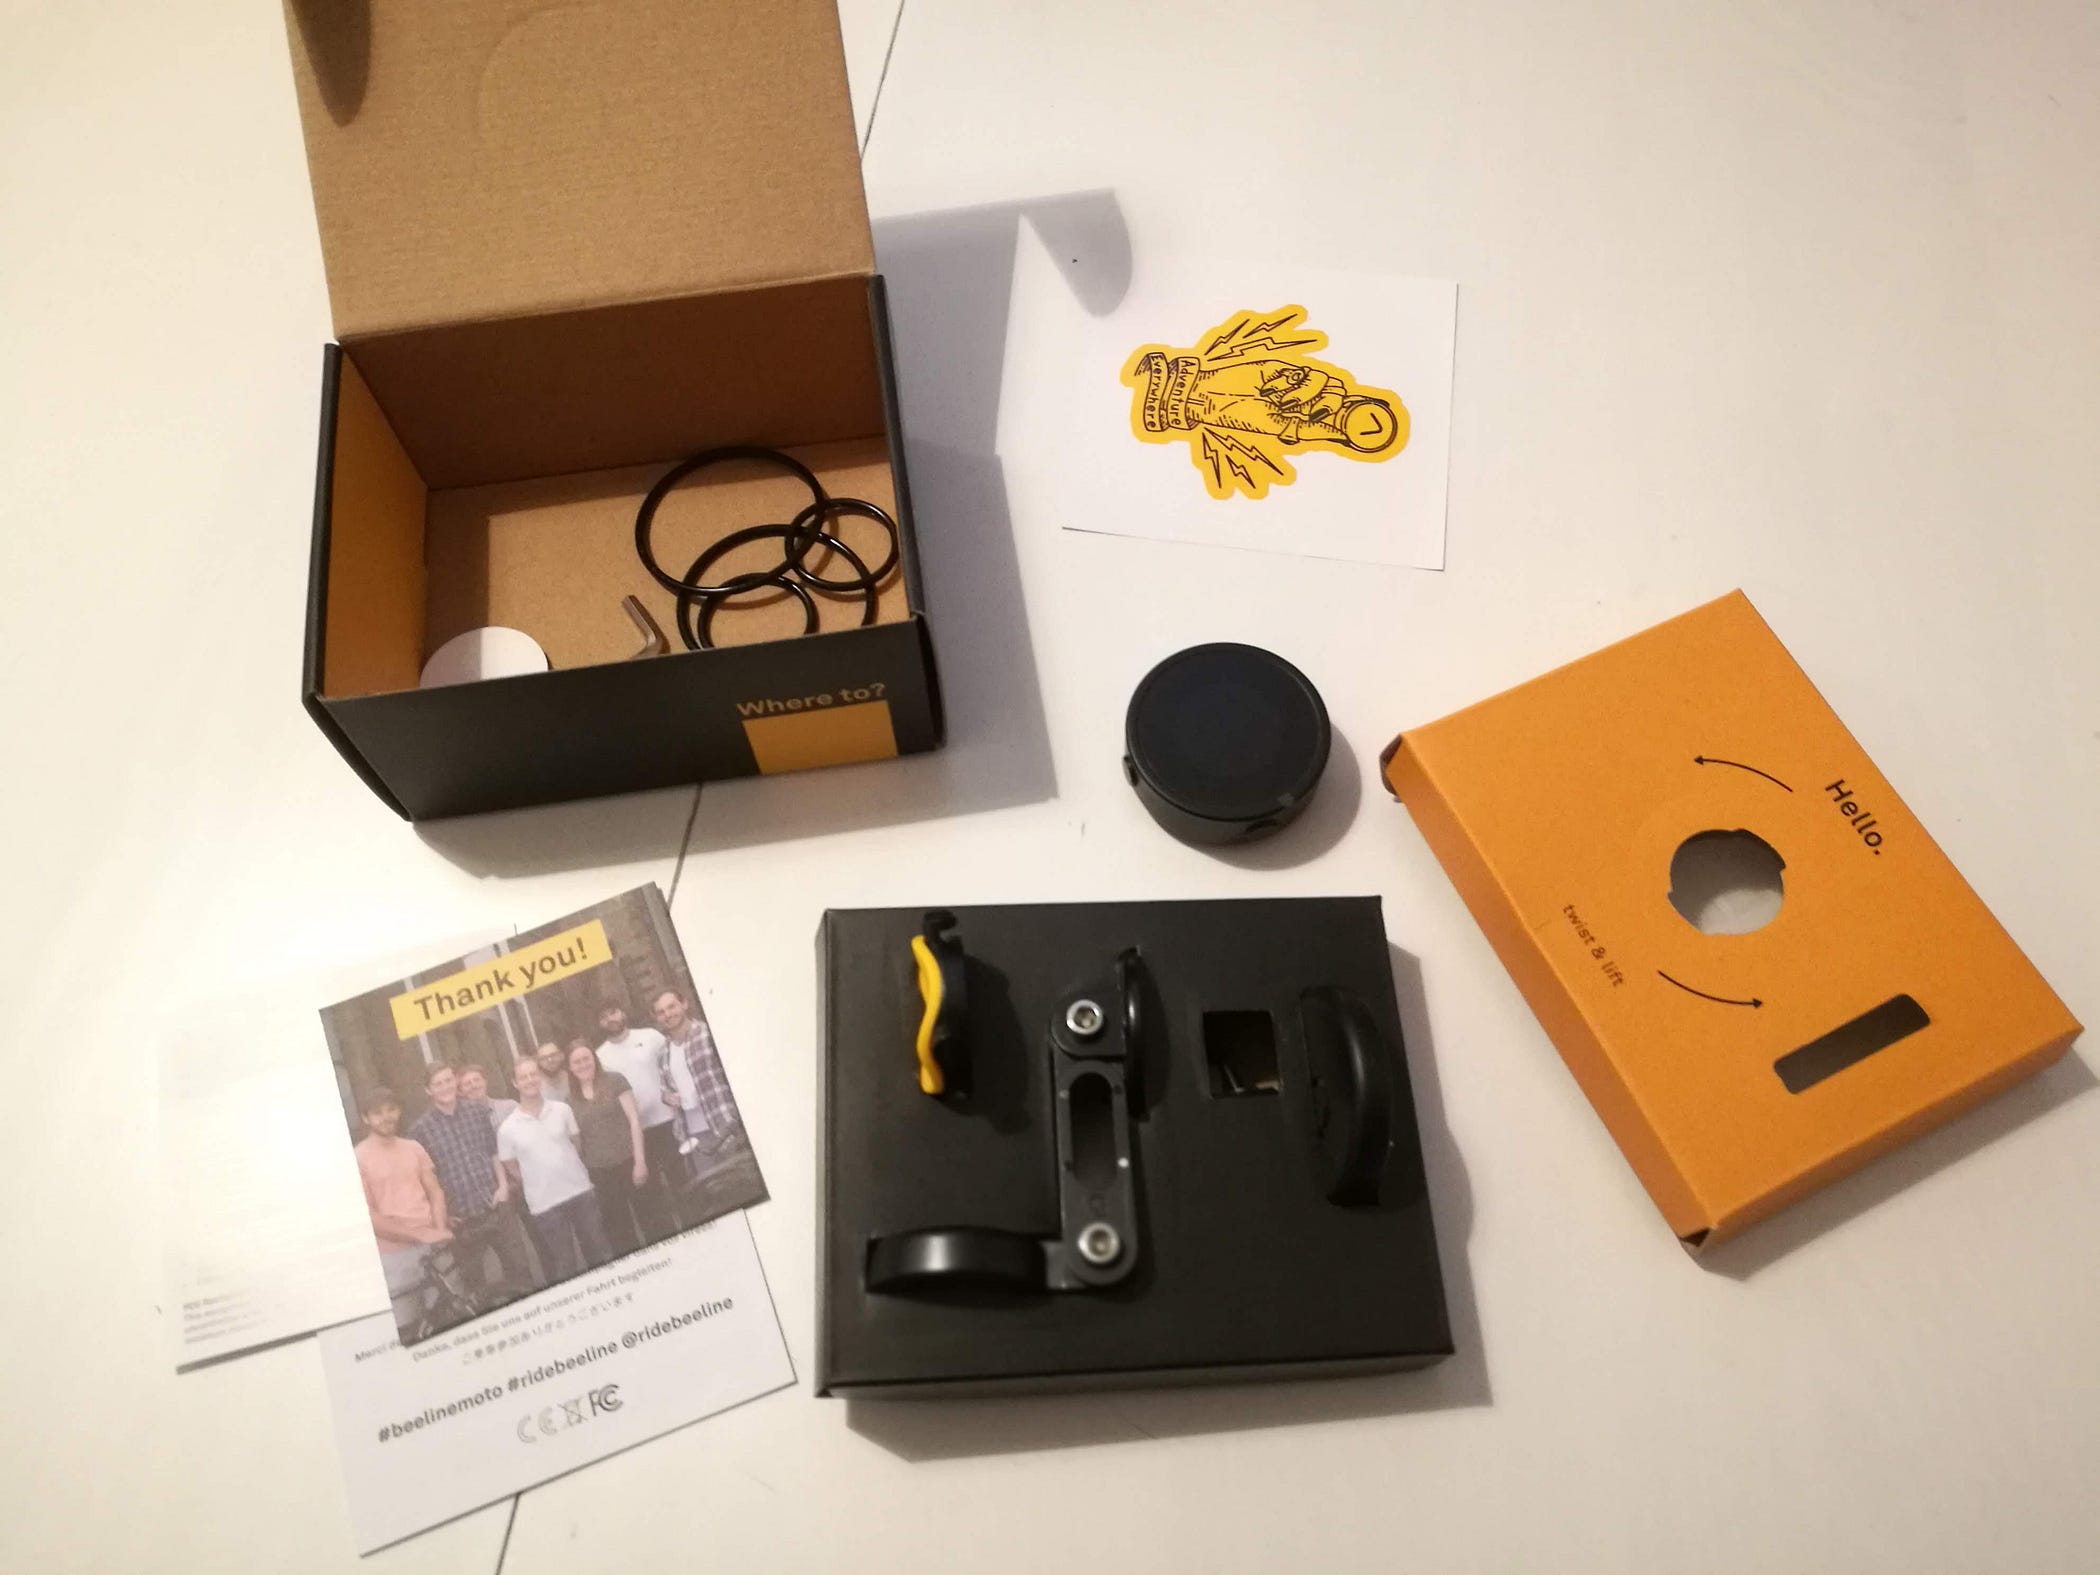
I liked the “Hello.” greetings as well as the twist & lift experience. Friendly and a nice foreshadowing of mounting the Beeline Moto. Spoiler: you twist & lift 🙂
Setting Up & Tutorial
First step: powering the Beeline Moto. It shows a hint where to get the app (beeline.co/app) and flashes the message “I’m 1234 Anyone out there?”. Ah, fun! It obviously uses the number to connect. Let’s see.
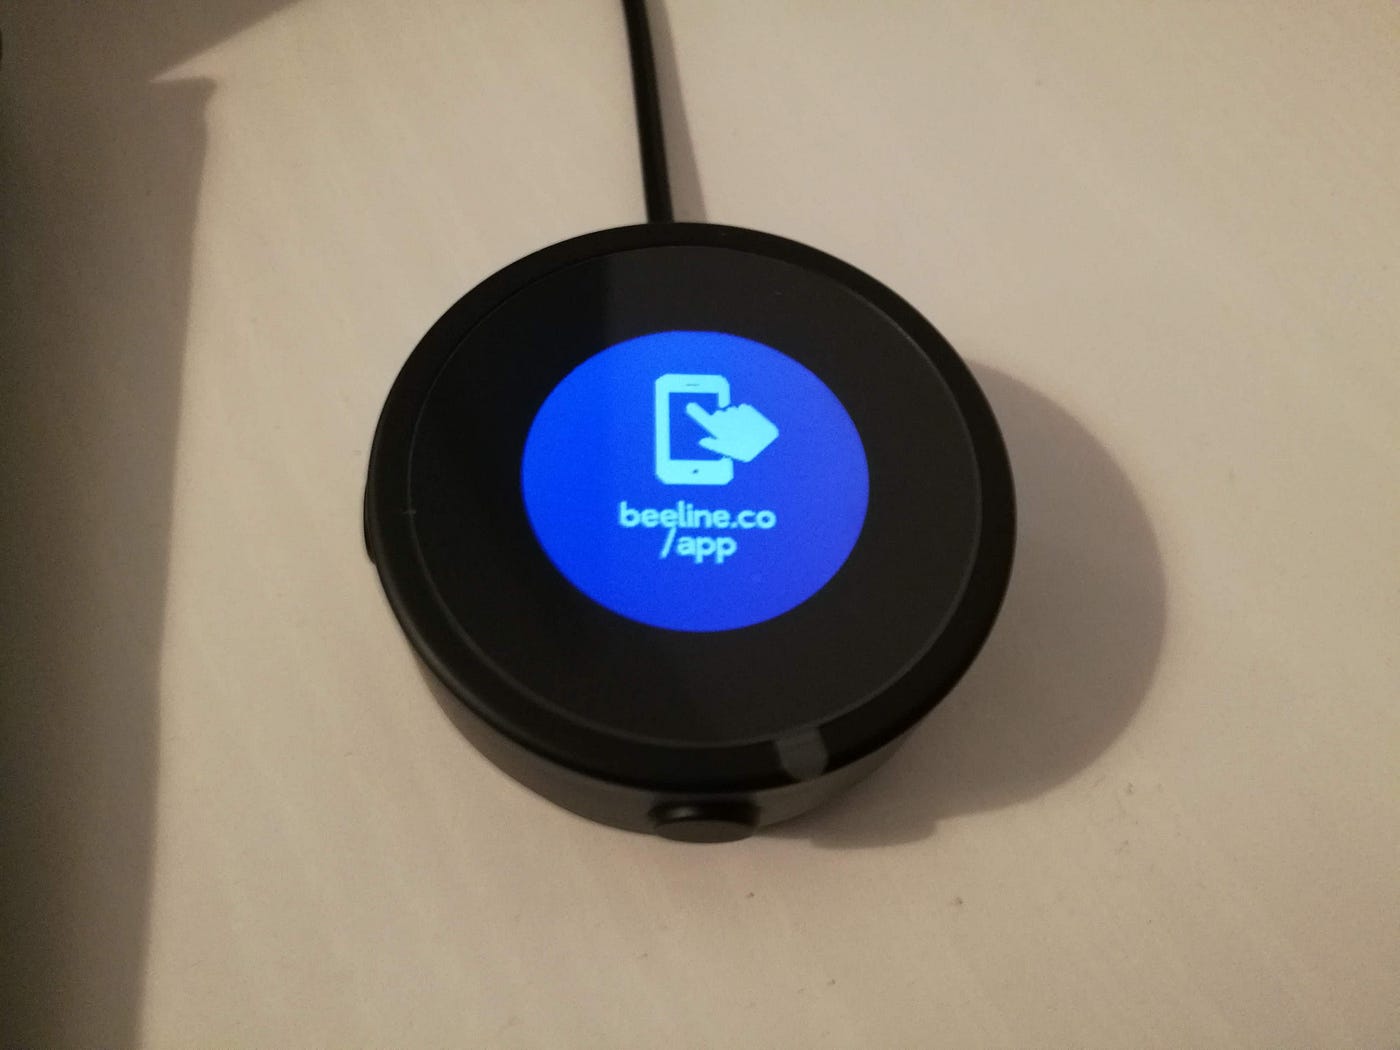
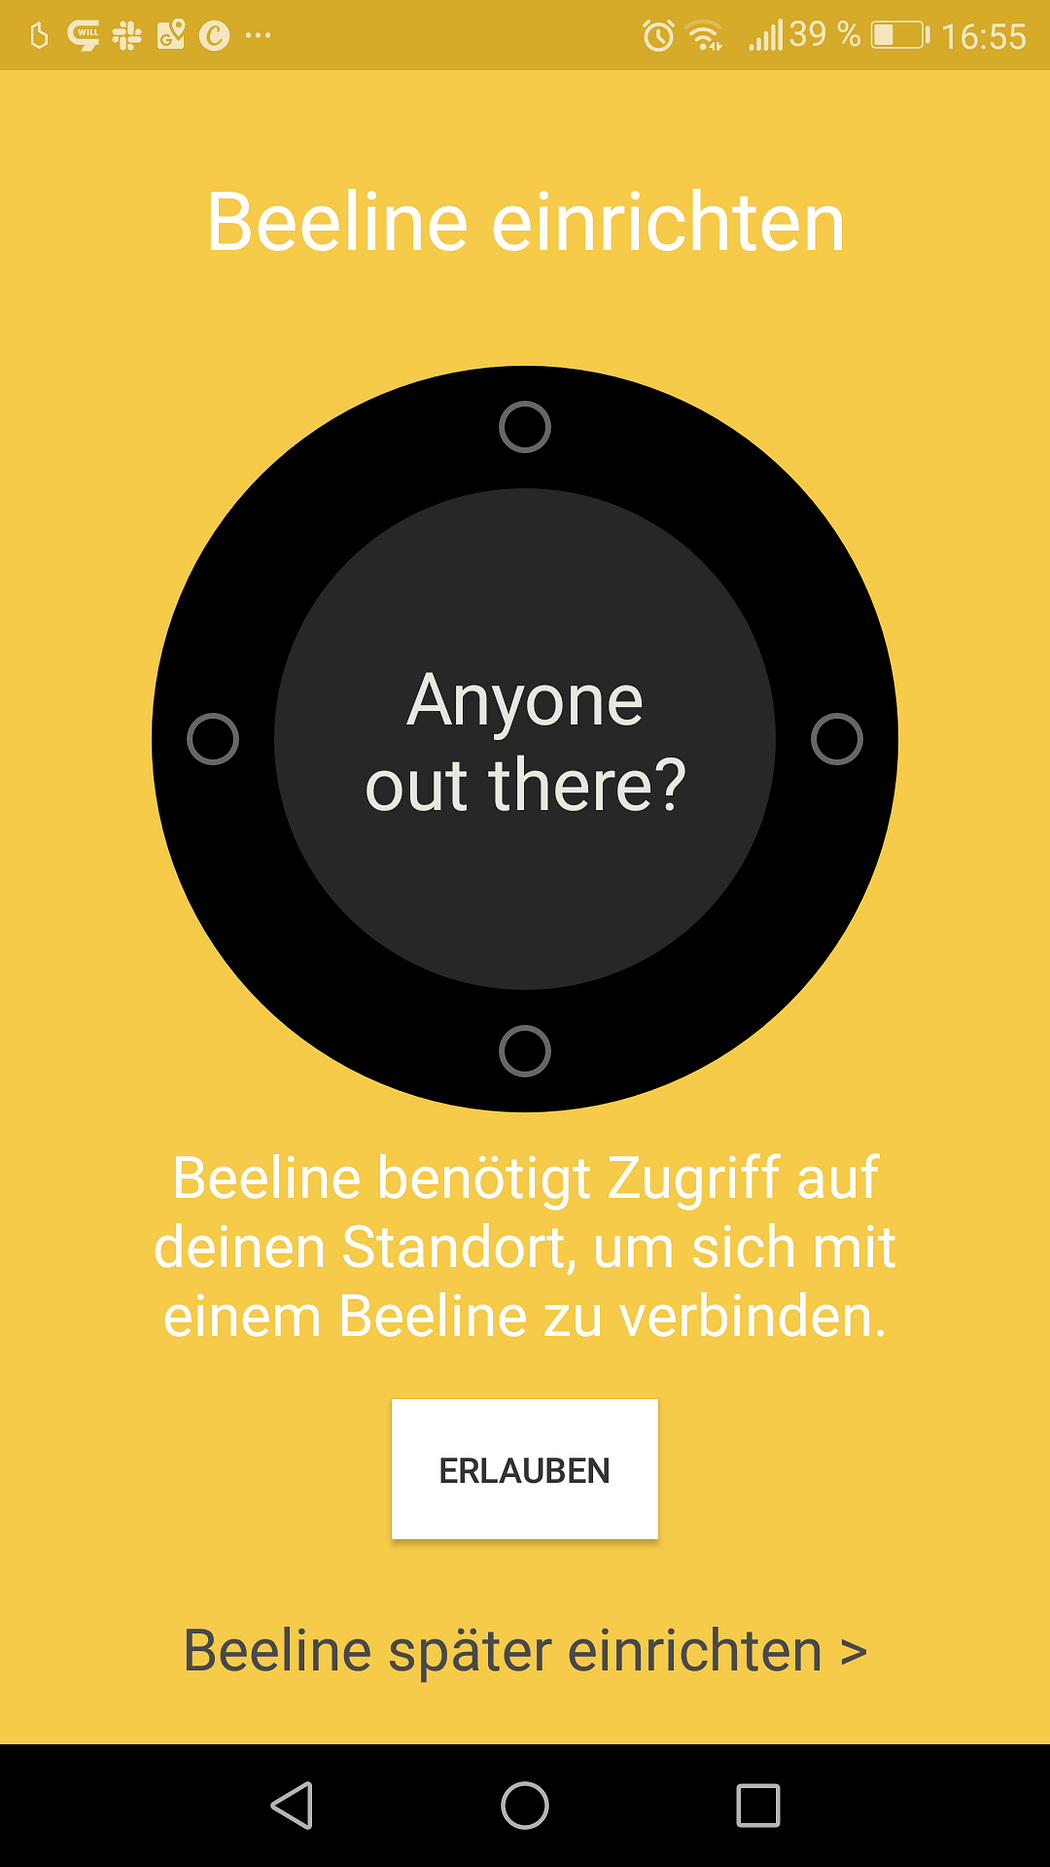
Next step: getting the App. Either for Android or iPhone. I’m currently Android user, to the download was quick and the app welcomed me. It obviously needs access to the current position, since it uses the phone GPS.
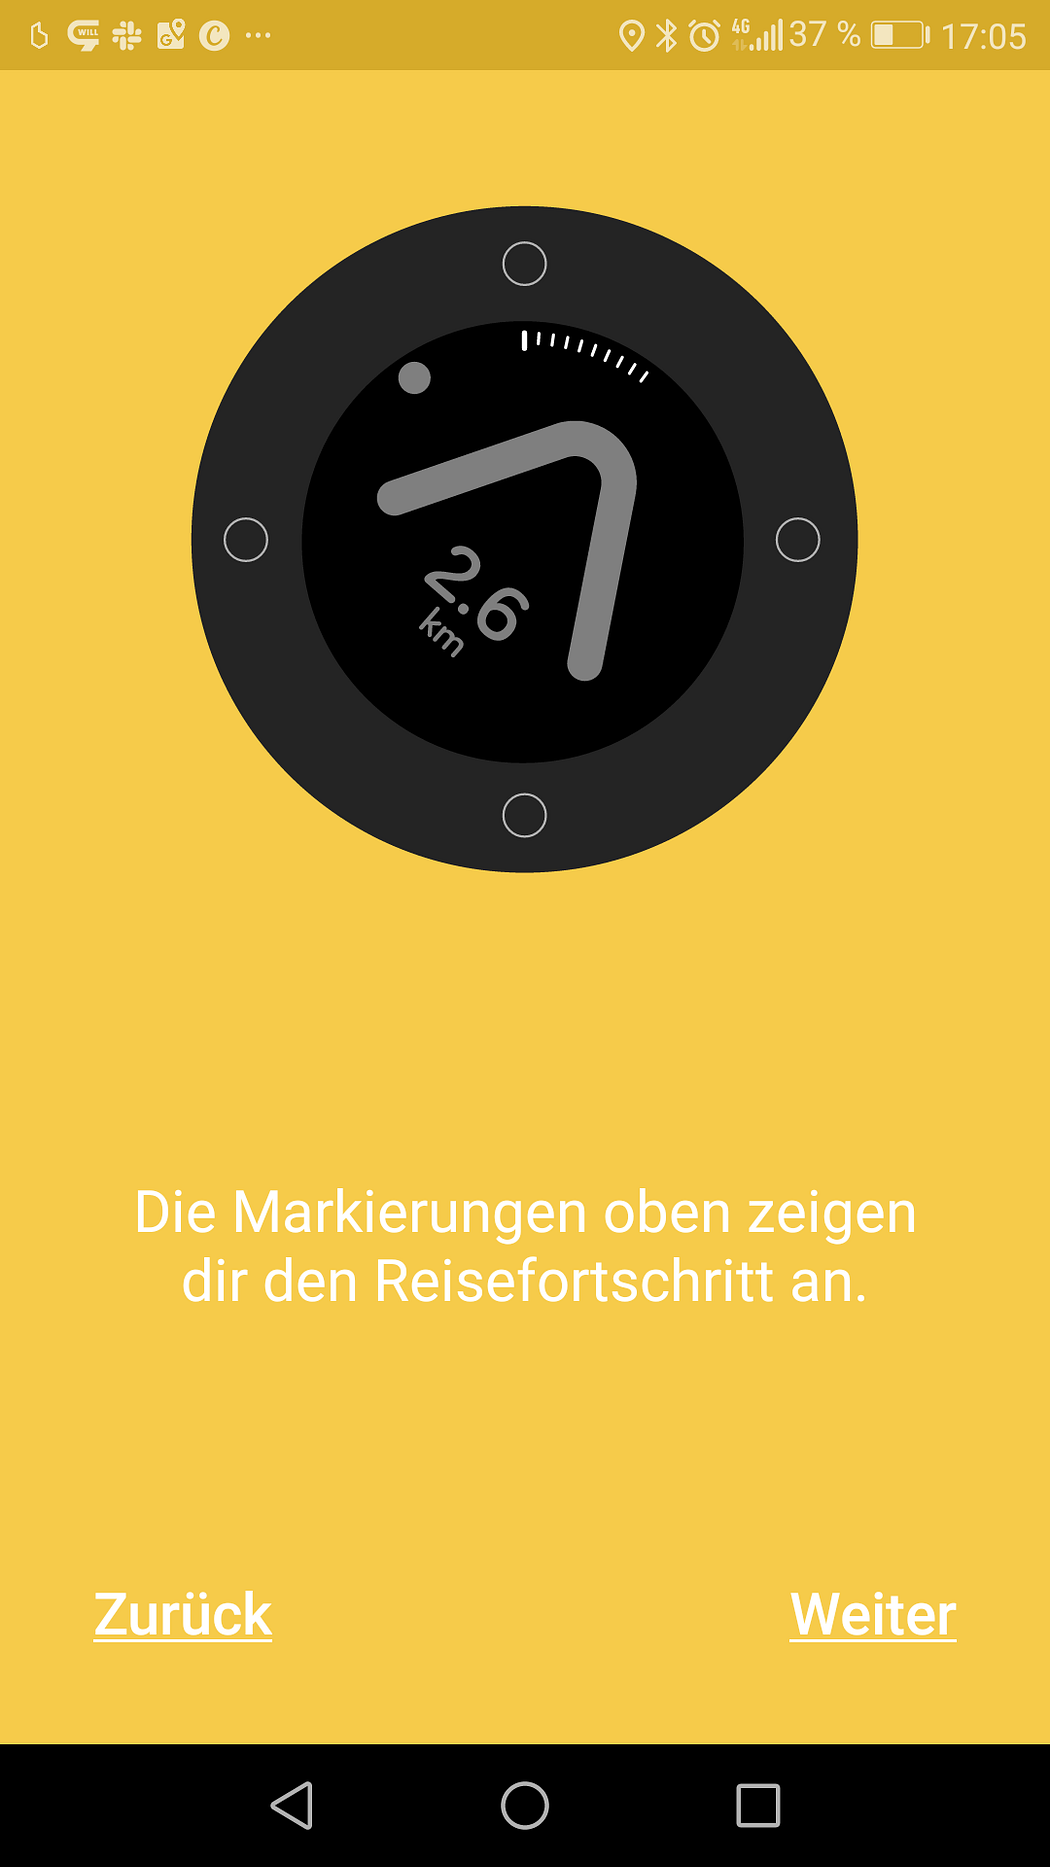
After pairing, it followed a short introduction on how to use it:
- Follow the arrow
- The white dot points into the direction of the next turn
- The top markers show the progress percentage of the route
- Arrow turns black when leaving the route
Additionally there’s 4 haptic buttons on the Beeline Moto. Great for using it with heavy gloves. As far as I know, the Beeline Velo uses touch instead. However, the top button is used to powering on and off. The bottom button for accepting choices. And the left and right buttons for choosing. During ride these left and right buttons also cycle different display modes.
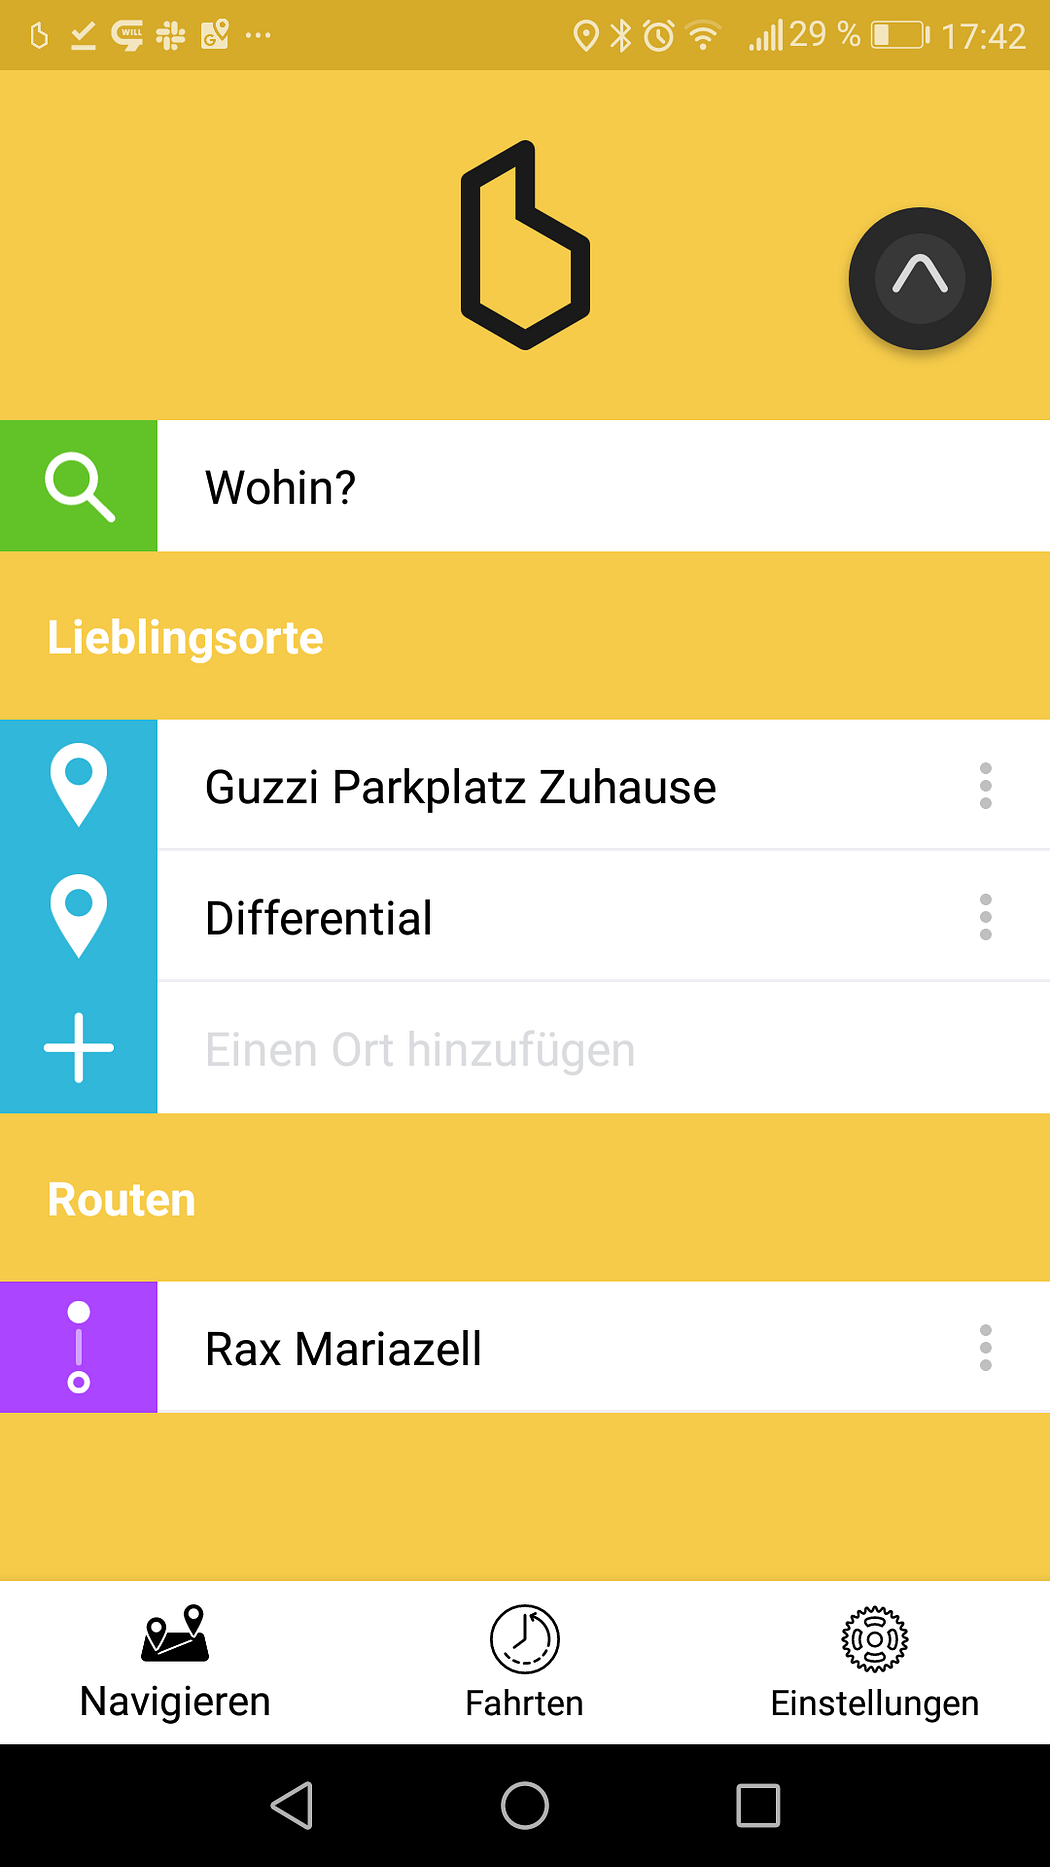
Searching a Route
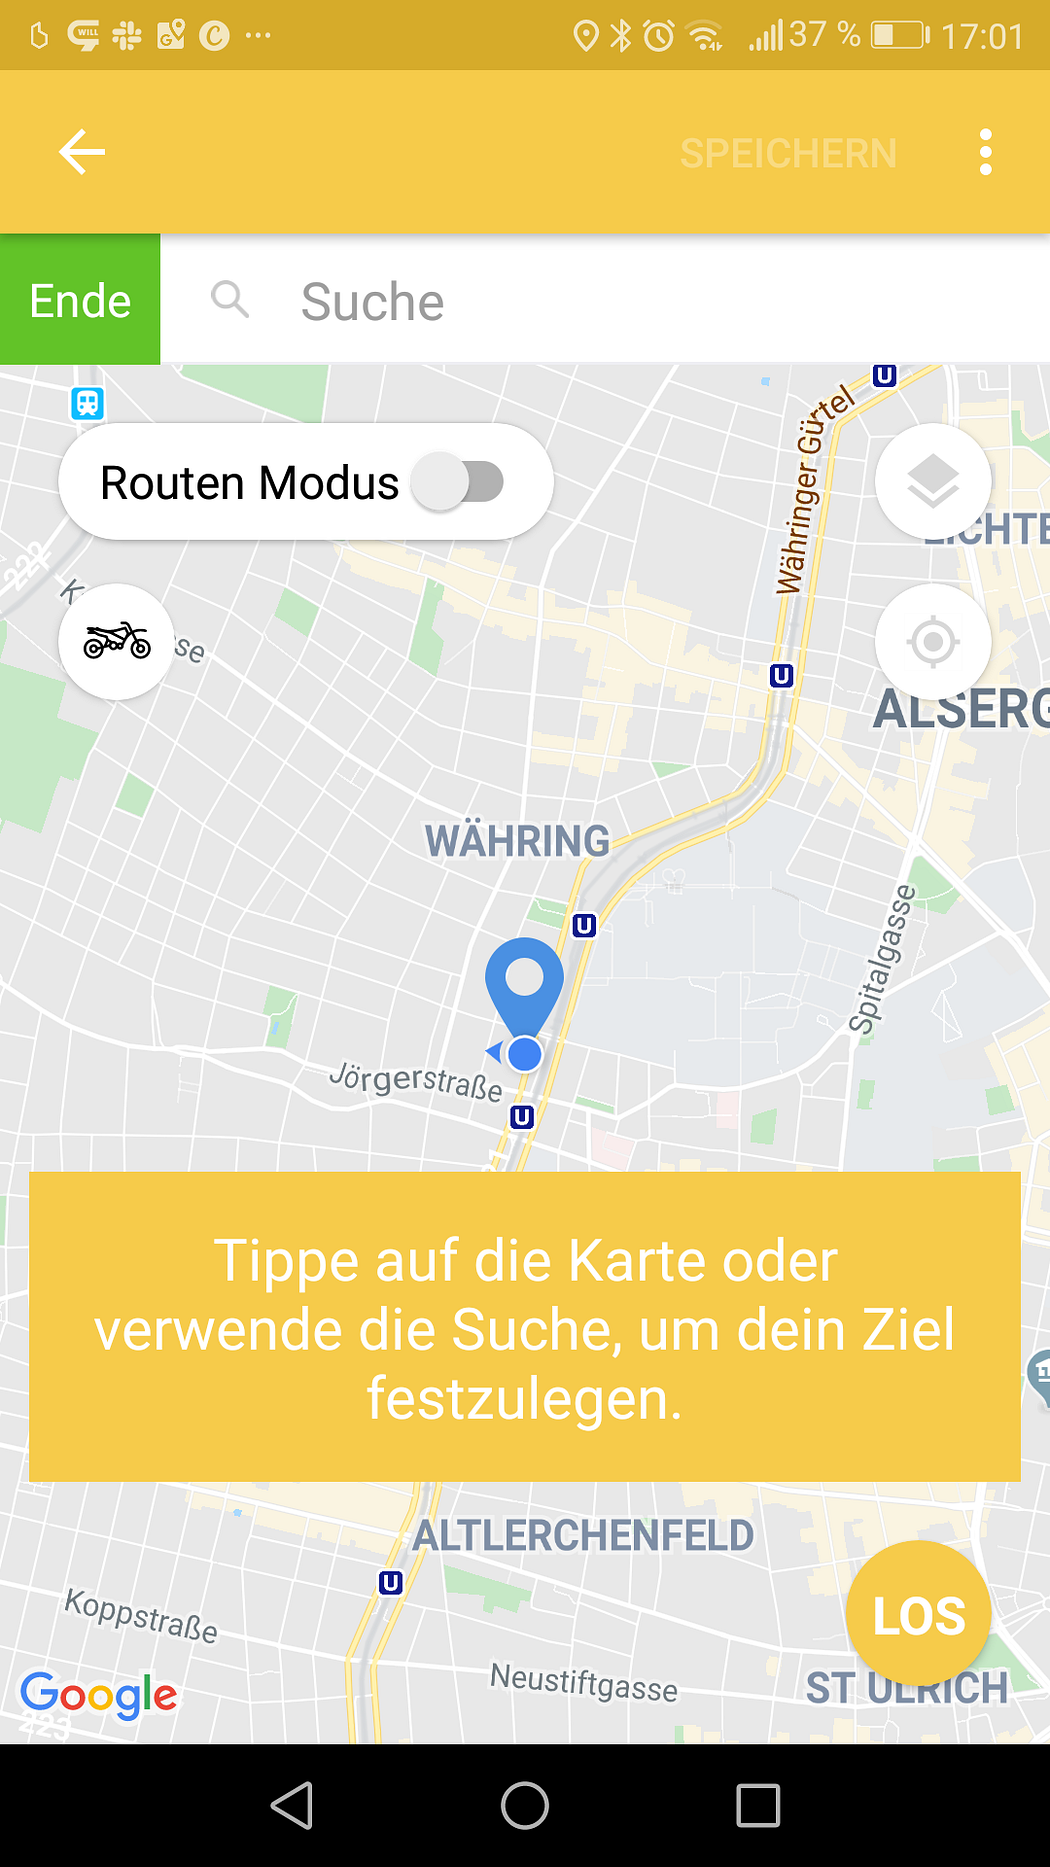
On the main screen there’s three options at the bottom. It’s navigate, tours and options. Apart from that, it shows prominently where to go and the option to store your preferred locations. I added my preferred motorcycle parking and a second location. Additionally, routes can be imported as GPX files, what is pretty handy.
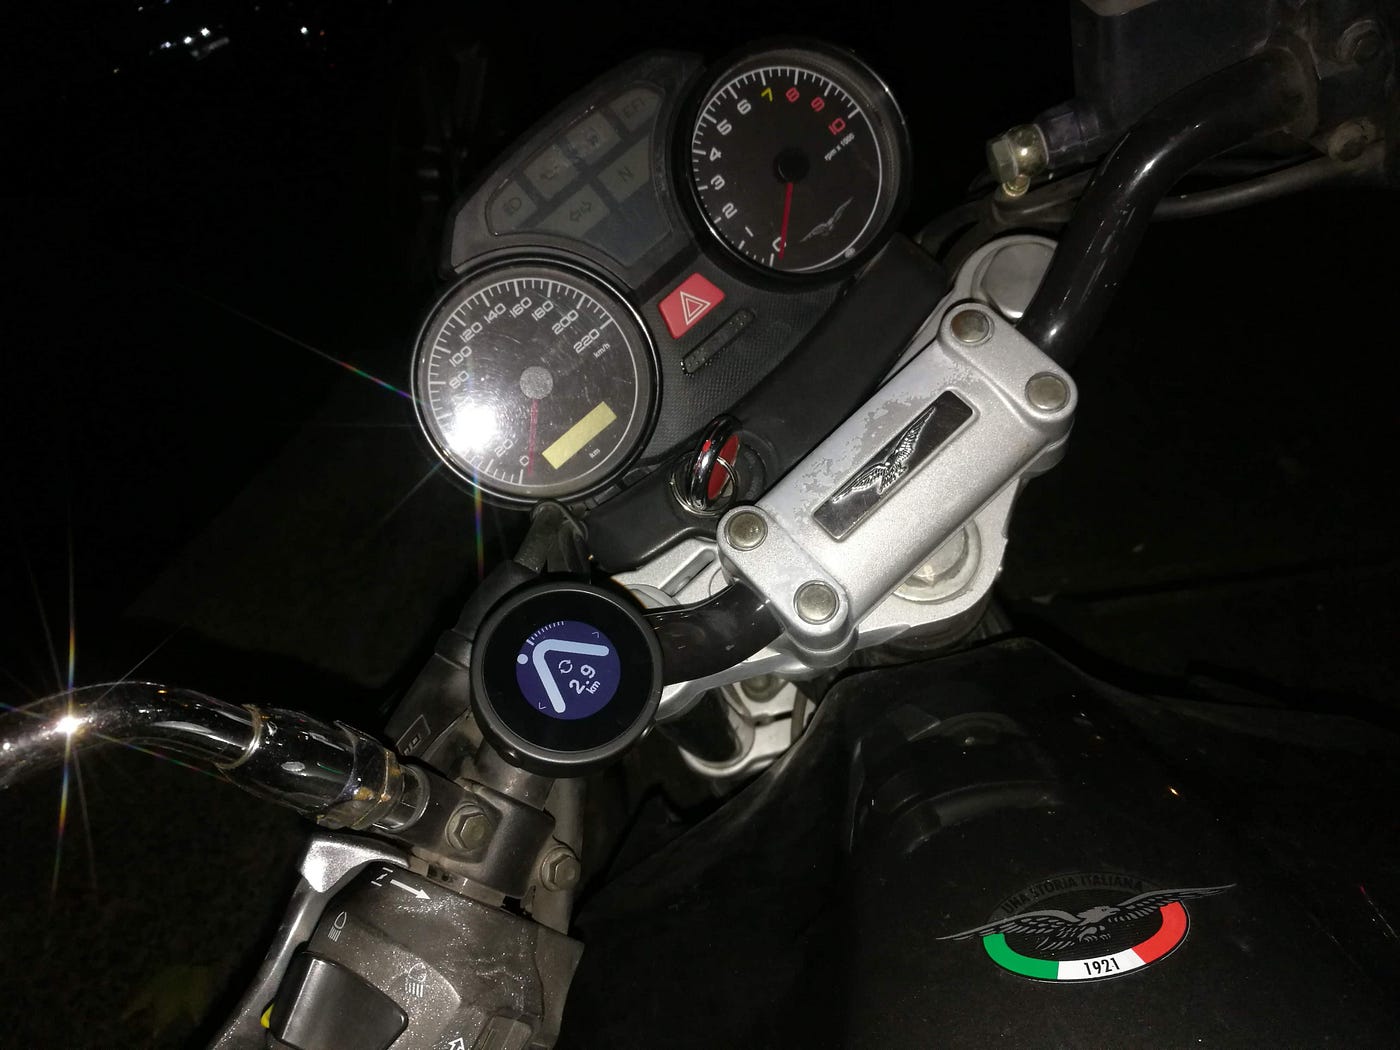
Mounting and Riding by Night
Mounting took about 2 minutes using the elastic strap mount. It works. But it’s not the best option since it’s somewhat elastic. But still: very fast and easy. I think I’ll later switch to the sticky pad mount.
But for now it’s night and time to test: I found it easy to read and easy to navigate. There’s actually 2 modes of navigation. The first, “compass mode” only points the arrow into the direction of your destination. That might be handy for long distances. But since I first tried it into the city, I went for “route mode”. In this mode, the arrow still points into the direction of the destination. But the white dot shows how to follow a specific route.
This works very well and without and distractions. And presumably without sucking too must power out of the mobile phone.
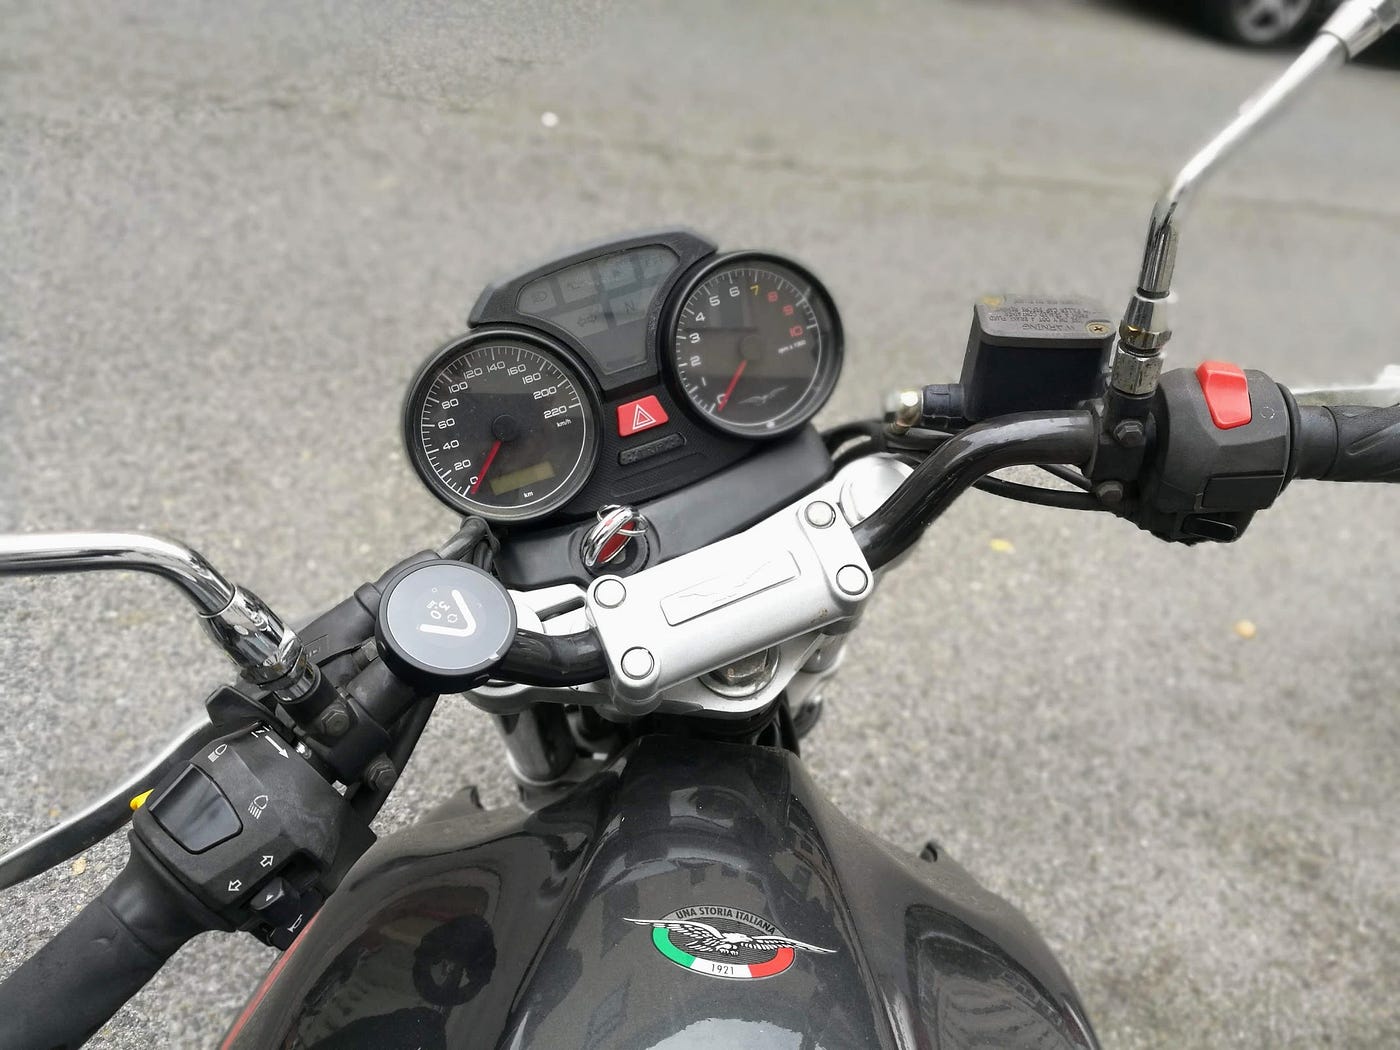
Driving by Day
During daytime, the display is also very much legible, as expected. I did a few smaller tours of only about halb an hour and it worked as expected. Reduced, no additional distractions. Great!
However, for navigating inside the city, current might not be the best option. Just a thought: why not using the arrow to point to the next turn and the whte dot for the turn after the next turn? Especially when navigating in narrow spaces, this would be a huge plus. And the direction of my goal (where the arrow is pointing) is most of the time pretty obvious. I think, it’s currently tailored to longer routes. What it of course the most fun. But still, I’d like to see an update with “city mode”.
Tech Specs
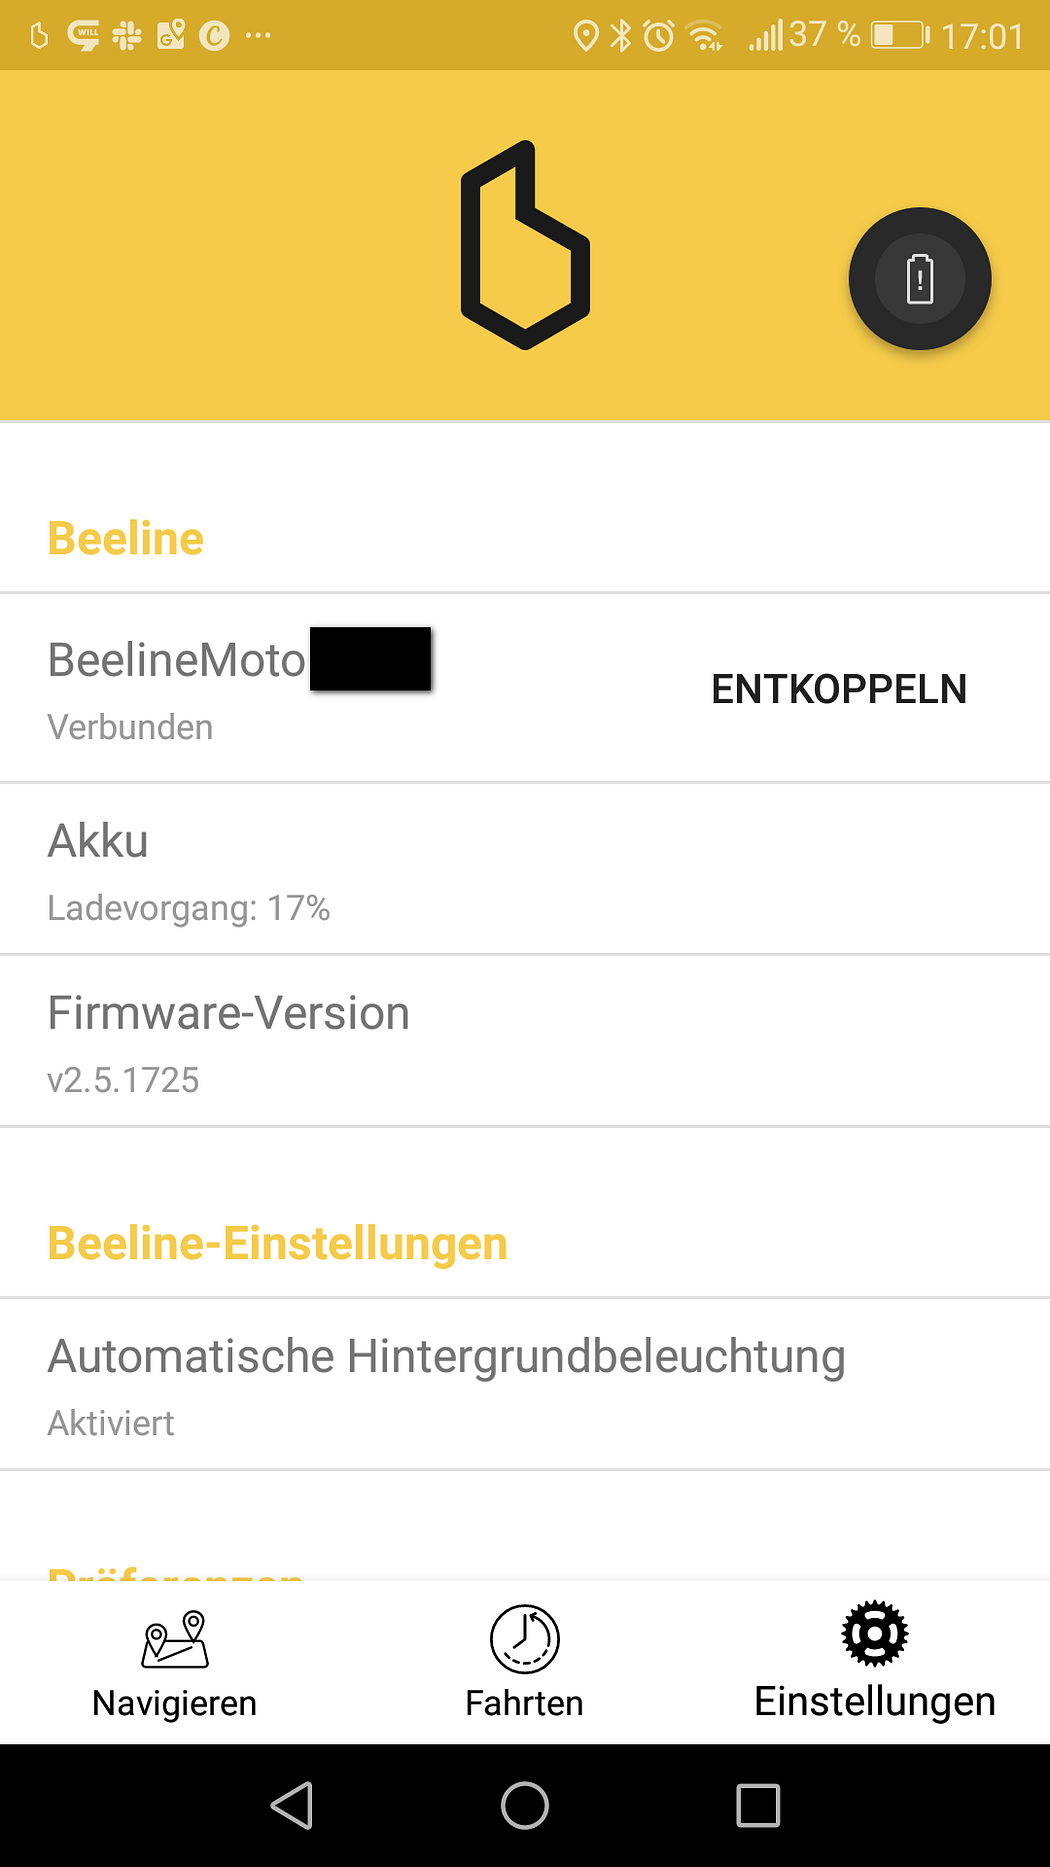
It took a short time but I found the detailed tech specs at the ridebeeline zendesk. It tells that the device should hold enough power for 10 to 30 hours of riding. Depending on the backlight state. I can’t confirm that yet. But I can confirm, that my motorcycle smartphone satnav drained my phone last tiem after 3 hours of use 🙂 So a great improvement. And I don’t plan to ride longer than 10 hours. Fine.
The following sensors are built into the Beeline Moto device:
- Accelerometer
- Gyroscope
- Magnetometer
And BlueTooth 4.0, which is being usid to communicate with the phone. By the way: pairing works quick and easy.
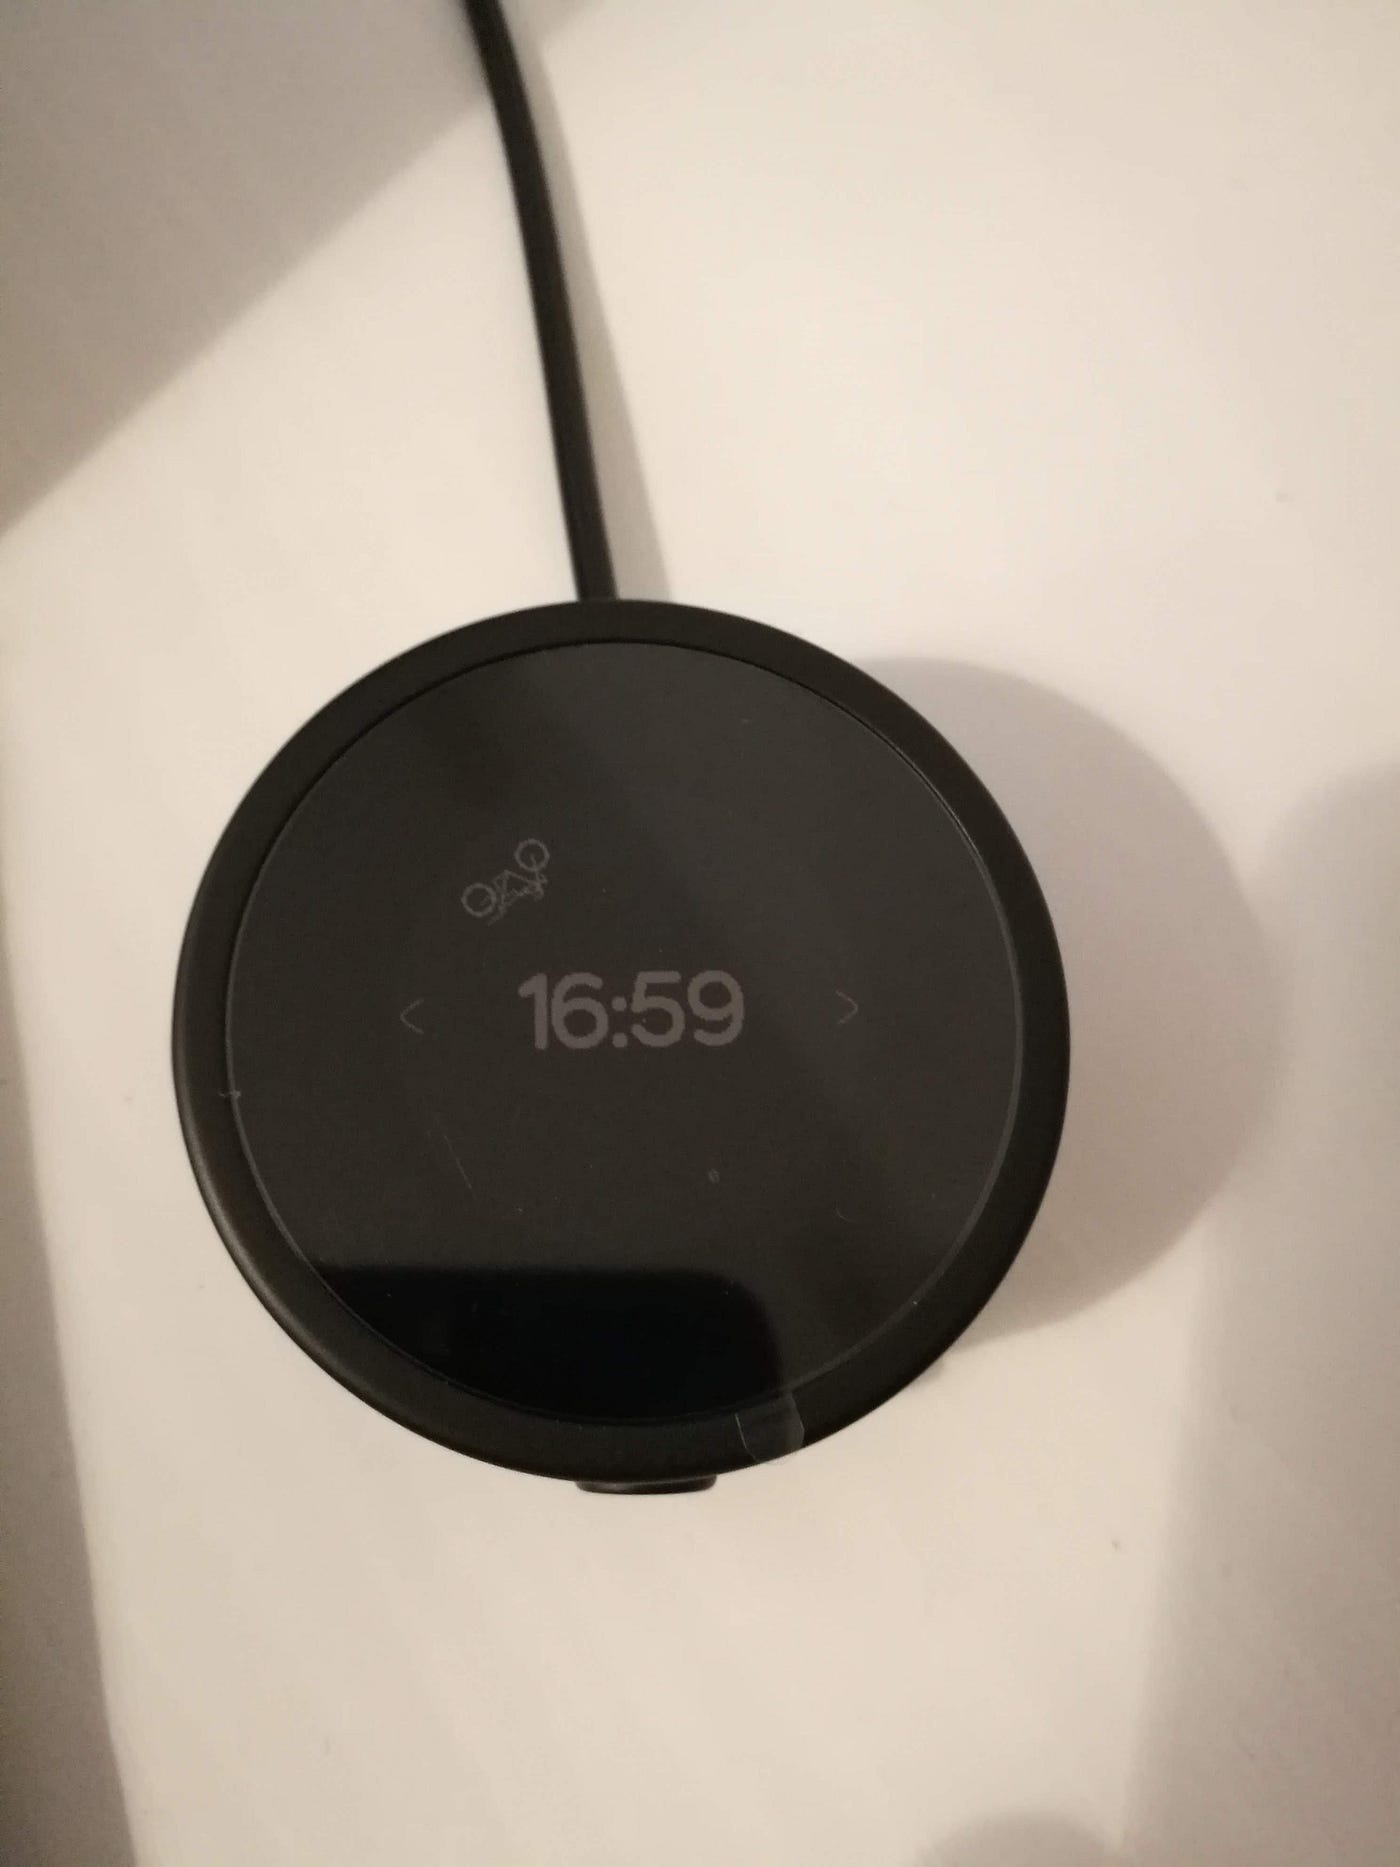
Due to the Gyroscope, there’s a funsmall effect at work when the Beeline Moto is not in navigation mode: it shows a motorcycle at the “bottom” of the device, falling down just like one of those small metal balls inside these kids toys. I honestly don’t know the name. Anyway, it’s a very subtile effect.
Resumée
Here goes my pro’s list:
- distraction-free navigation
- simple and easy
- long battery life
- first easy into the pocket
I like it. Though I did not have the chance yet to test it on longer routes. I expect it to excel during longer trips. But already for short trips it’s fun and easy.
Thank’s for reading and have a good ride.